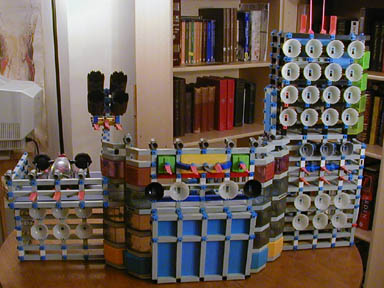
The outside of the relay fortress. Obviously, some similarities to the A207 are immediately apparant (I think a more curved front lends some elegance to an otherwise boxy structure), but I like how this fortress is more asymetrical than the A207. Somehow, that makes it look more real.
From the outside, you can see the rotating anti-aircraft turrets, the small aircraft landing strip, the main drawbridge, and the communications tower.
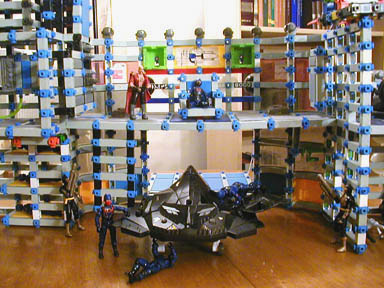
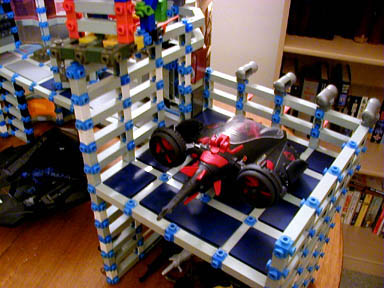
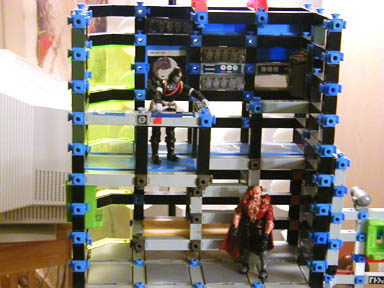
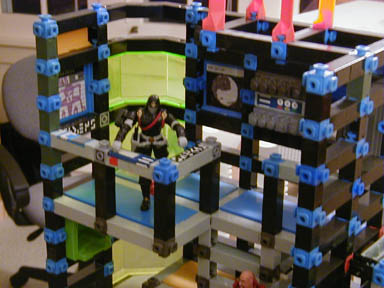
The fortress from within. The major aircrafts and other vehicles are stored here in the main hangar area.

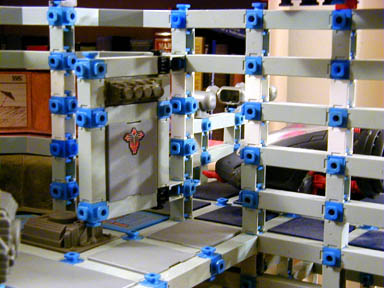
First floor, left wing. Bunks for off duty personnel and matter replicators for food and other needs. A doctor remains on-call in this wing, able to treat an injured soldier on a bunk with instruments and medicines from the matter replicator. A reinforced hatch above lends access to the main computer hubb.
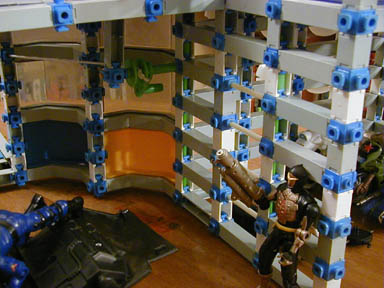
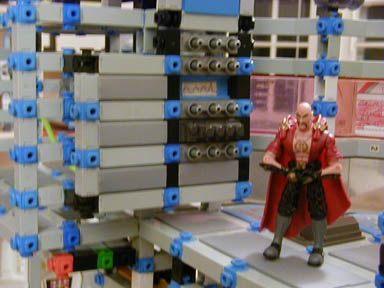
First floor, right wing. To the right of the main hangar, guards stand by a doorway, blocked by energy beams (the beams can recede into the wall). This area can serve as a brig or storage area.
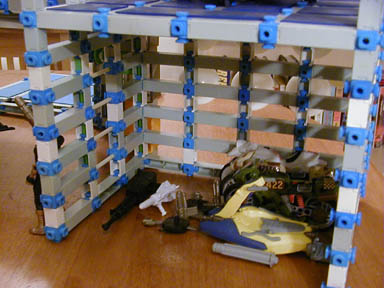
Cobra doesn't believe in coddling its prisoners, so you'll find no bunks or toilets here; just a large space for storing any number of soldiers and/or equipments. The area is currently being used to store small vehicles and weaponry.

Aerial view of the command center, second floor. The entire room consists of screens that are voice controlled by a single watchman for the sake of efficiency.
A magnetically sealed doorway on the right wall leads to the outside landing strip.
The outside landing strip is used for small fighter craft with vertical launch capabilities that can be launched to intercept enemy attack on a moment's notice. The strip can also be used for rare visitations by non-Cobra parties. Cobra doesn't want to risk letting someone fly a fighter craft into their main hangar, after all.
A bigger, more important looking magnetically sealed doorway lies on the left wall. It leads to the heart of the communication relay tower, as well as the fortress's main computer hub.
With the propper voice identification and password, the door opens.
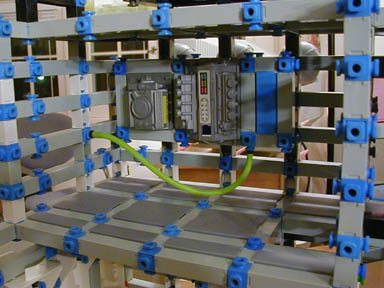
The central computer hub for the fortress, along with the controls for the relay tower. A small hatch in the floor can rotate on a pivot point to allow access to the lower level.
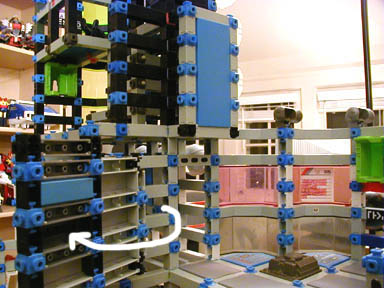
But let's step back outside again and re-examine the entranceway. After we use the voice activated password to open the first door, let's try a second, more secret password.
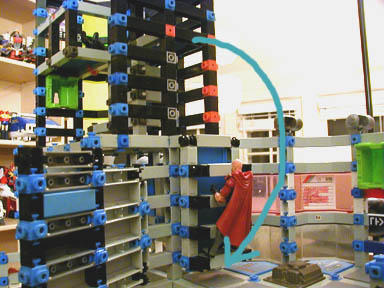
Maybe a ladder would flip down, leading us to a hidden bunker within the relay tower.
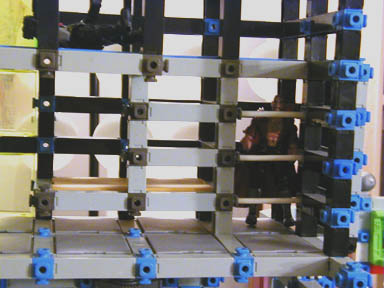
At the top of the ladder, more safety precautions ensue. Upon entering the next room, you find yourself blocked by security energy beams while the passageway behind you slams shut again. You are trapped and vulnerable until someone from within deactives the energy beams.
The split level hidden command bunker. The lower level is primarily a bed and living quarters.
Most of the more important stuff happens on the upper level.