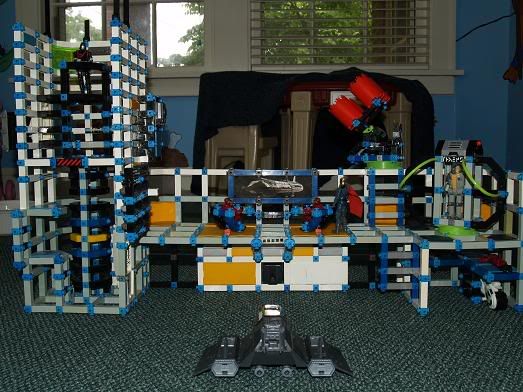
As I did with my previous A208 Mobile Command Headquarters, I've plunged back into the past and resurrected an old favorite design to improve upon. This time it's the Cobra Relay Fortress. I wanted to keep the old hidden room (which was really all I loved about the old design) and see what I could do to improve upon the rest. While I'm incredibly pleased with much of what I've done, the Viper is still a work in progress. You see, I still haven't had the heart to disassemble several of my previous sets (Protector, the MP-1, and most significantly the A208) which has severely limited my supply of construx pieces. This set is clearly unfinished and will probably be a work in progress for some time to come.
(Apologies in advance, by the way. I had to do this shoot in my daughter's playroom, so enjoy the cartoon doggie and pink doll stroller in the background of some of these photos. I tried photoshopping them out at first, but it just wasn't worth the effort).
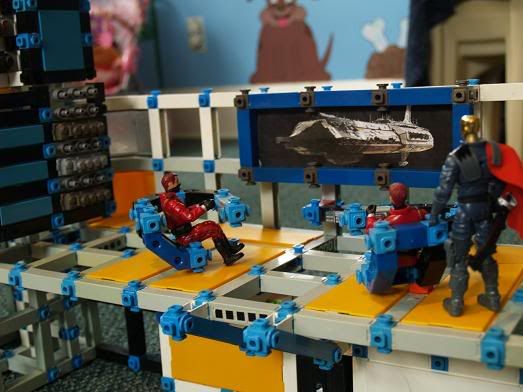
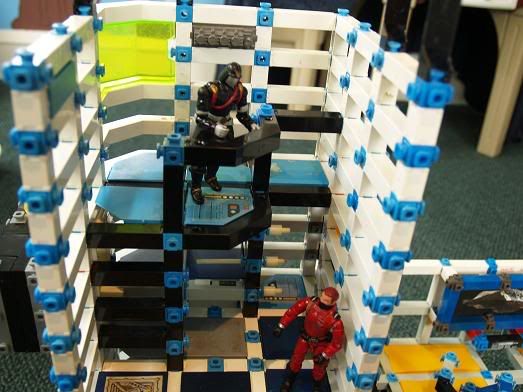
Here's the new bridge. I'm incredibly pleased with the new work stations. Please note the floor is unfinished due to lack of pieces. It's not supposed to have holes in the middle.
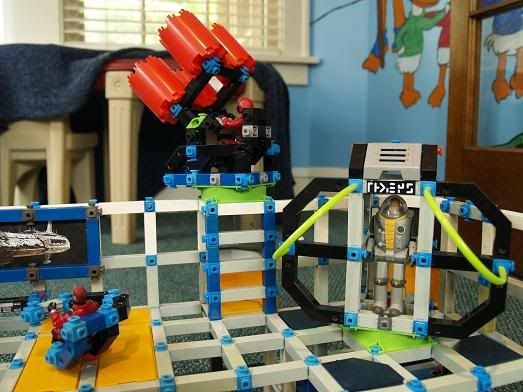
Here's the right wing of the upper level, including a new experimentation chamber (I'm such a sucker for those) and an anti-aircraft missile battery station.
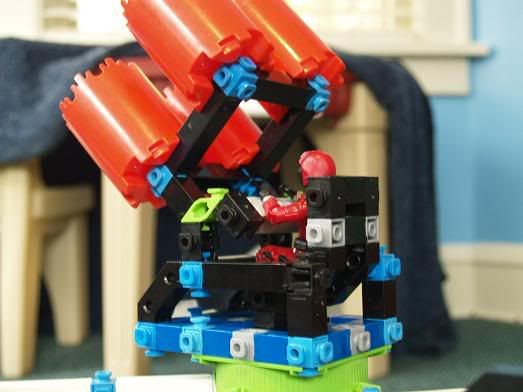
A better look at the anti-aircraft station. It rotates 360 degrees.

A door swings out, allowing the gunner to descend the stairs and go off duty.
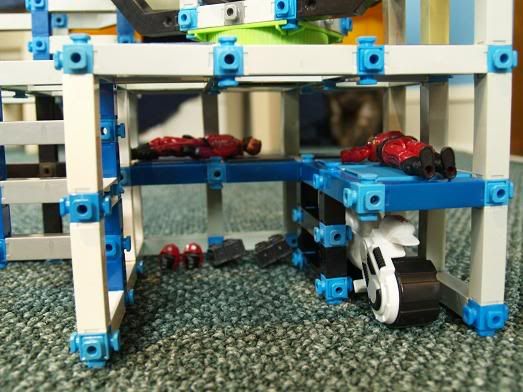
The right side on the lower level is once again used for crew quarters and storage.

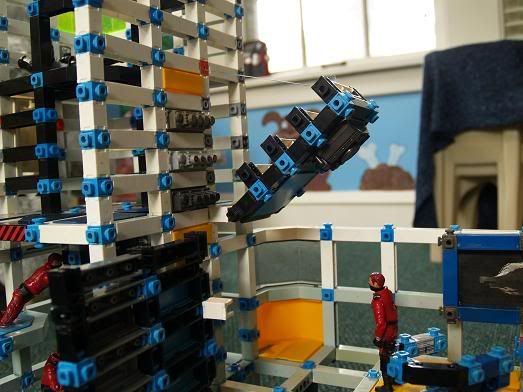
Here's the new hangar bay door. It's not much to look at (left over pieces, remember?), but it has a unique new way of opening.
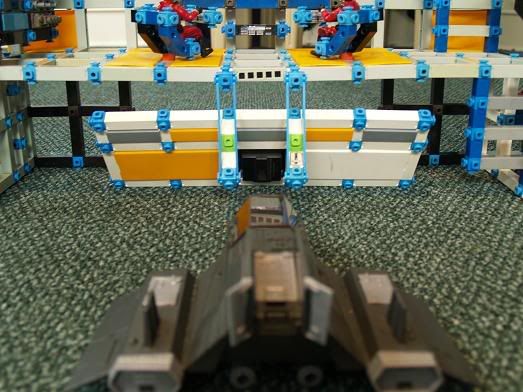
It begins by pulling back...

...and then flips over.

This busy looking wall should be a familiar sight if you know the old Cobra Relay Fortress.
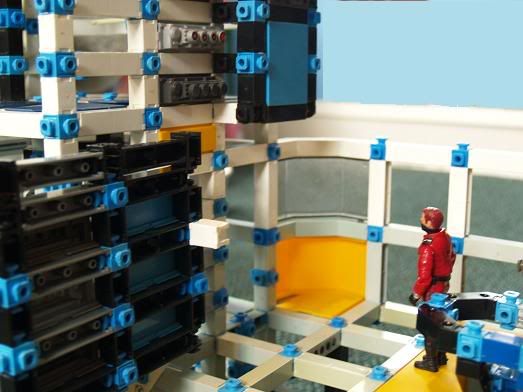
Once the right code is entered, the magnetically sealed security door swings open.

I'm not entirely sure what it is they're working on in here, but it looks cool and important. The design is largely borrowed from the look of the Star Trek: Next Generation warp core.
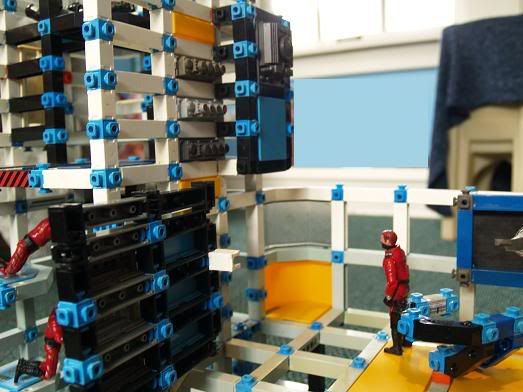
Back to the passageway. Only the most trusted officers on this station would know that there is a second code that can be entered here.
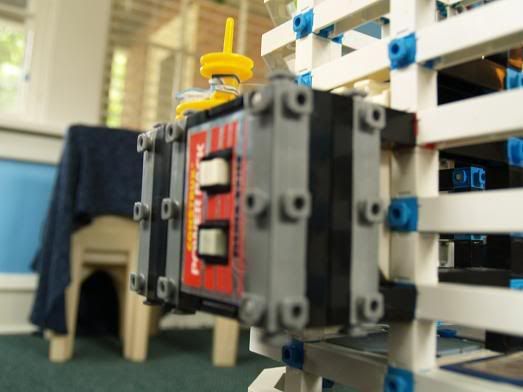
But before we reveal the ultra secret second passageway, let's take a look at the motor attached to left exterior wall of the playset. I've had one of these in my possession for at least two years, but I never took the time to really experiment with it until now.
The secret passageway descends and ascends with the flip of a switch. If you look closely, you can see that it is being gently lowered by an attached cable of dental floss. The floss then runs through a few beams and out to the motor on the other side. It took me hours of messing around, but the function now works flawlessly!
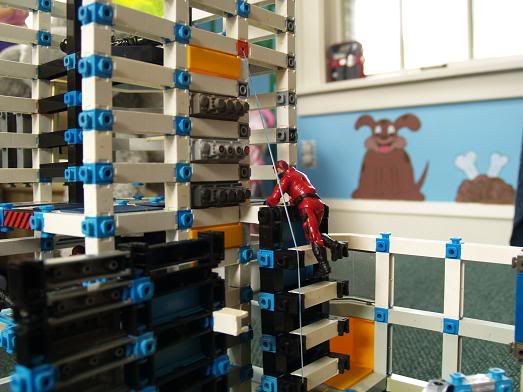
Our soldier takes to the stairs!
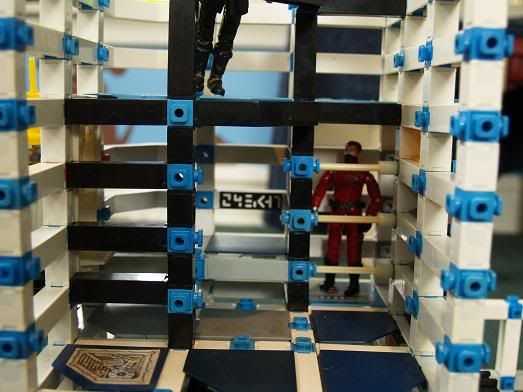
Most of this comes almost directly from the old Cobra Fortress, right down to the retractable security beams blocking our officer. The only major difference is that I've shortened the room's width a bit.
Welcome to the Cobra Commander's secret bunker, but did you bring the Cheetos he requested?
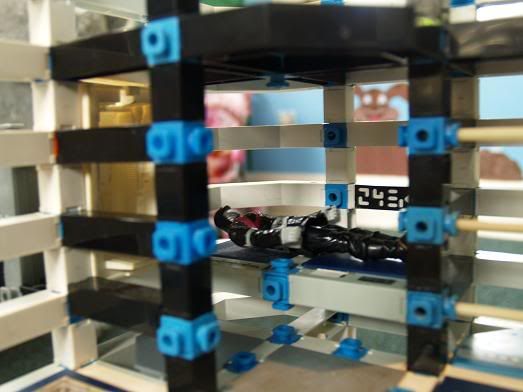
The Cobra Commander can hold up in this secret cell for months at a time, if necessary. It includes a bed and a food replicator barely visible on the left wall, as well as a full command station on the level above (previous picture).